Create the extension
Please note that if you are using our hosted solution, this step may already have been done for you. Please get in touch with support if you are unsure.
Sign up with Rossum
To continue you will need access to a Rossum document processing queue. If you are using our hosted solution this will be provided. If you are not using this, you will need to sign up for your own processing queue at Rossum and follow their documentation to create a queue.
Once you have a queue ready to process, your data needs to go somewhere, and that's where our solution comes in!
Add a webhook extension
Some of the information you will need to configure the extension will come from ERP Apps following the authorisation step, and some from your Unit4 ERP following configuration of permissions there. So ensure those steps are complete before proceeding.
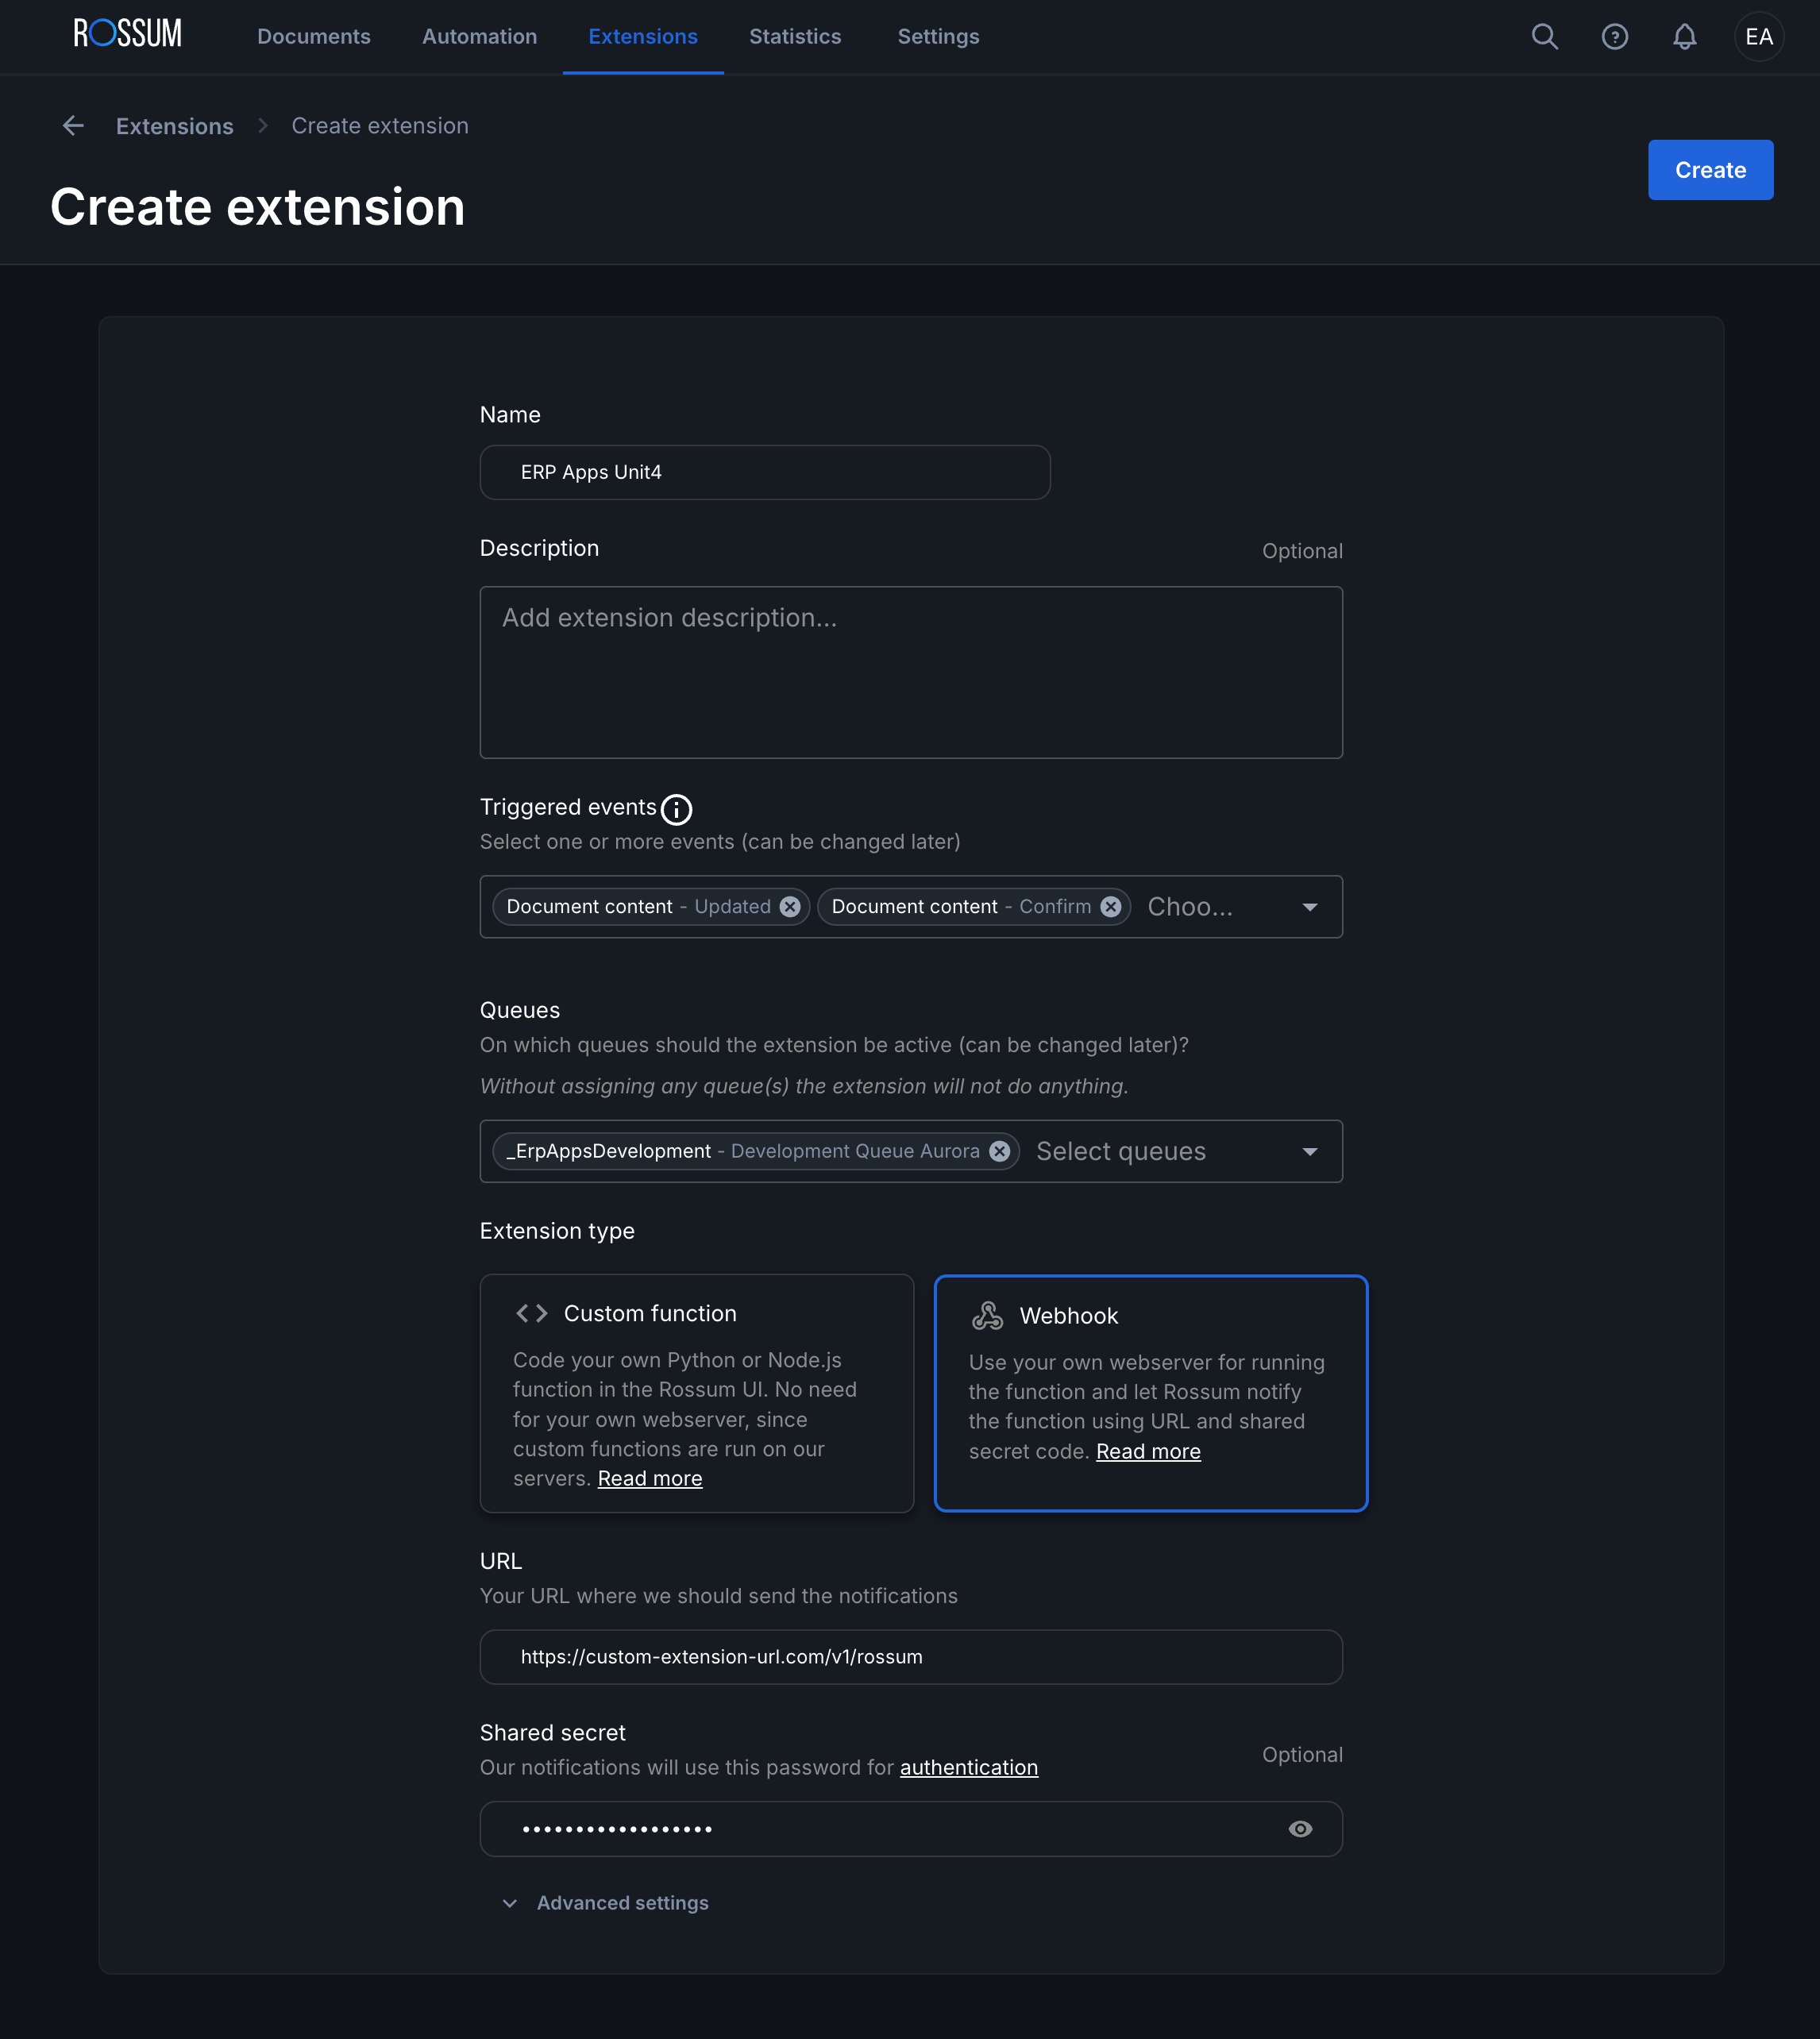
To add the extension, log into Rossum and navigate to "Extensions" -> "My Extensions" then hit "Create Extension".

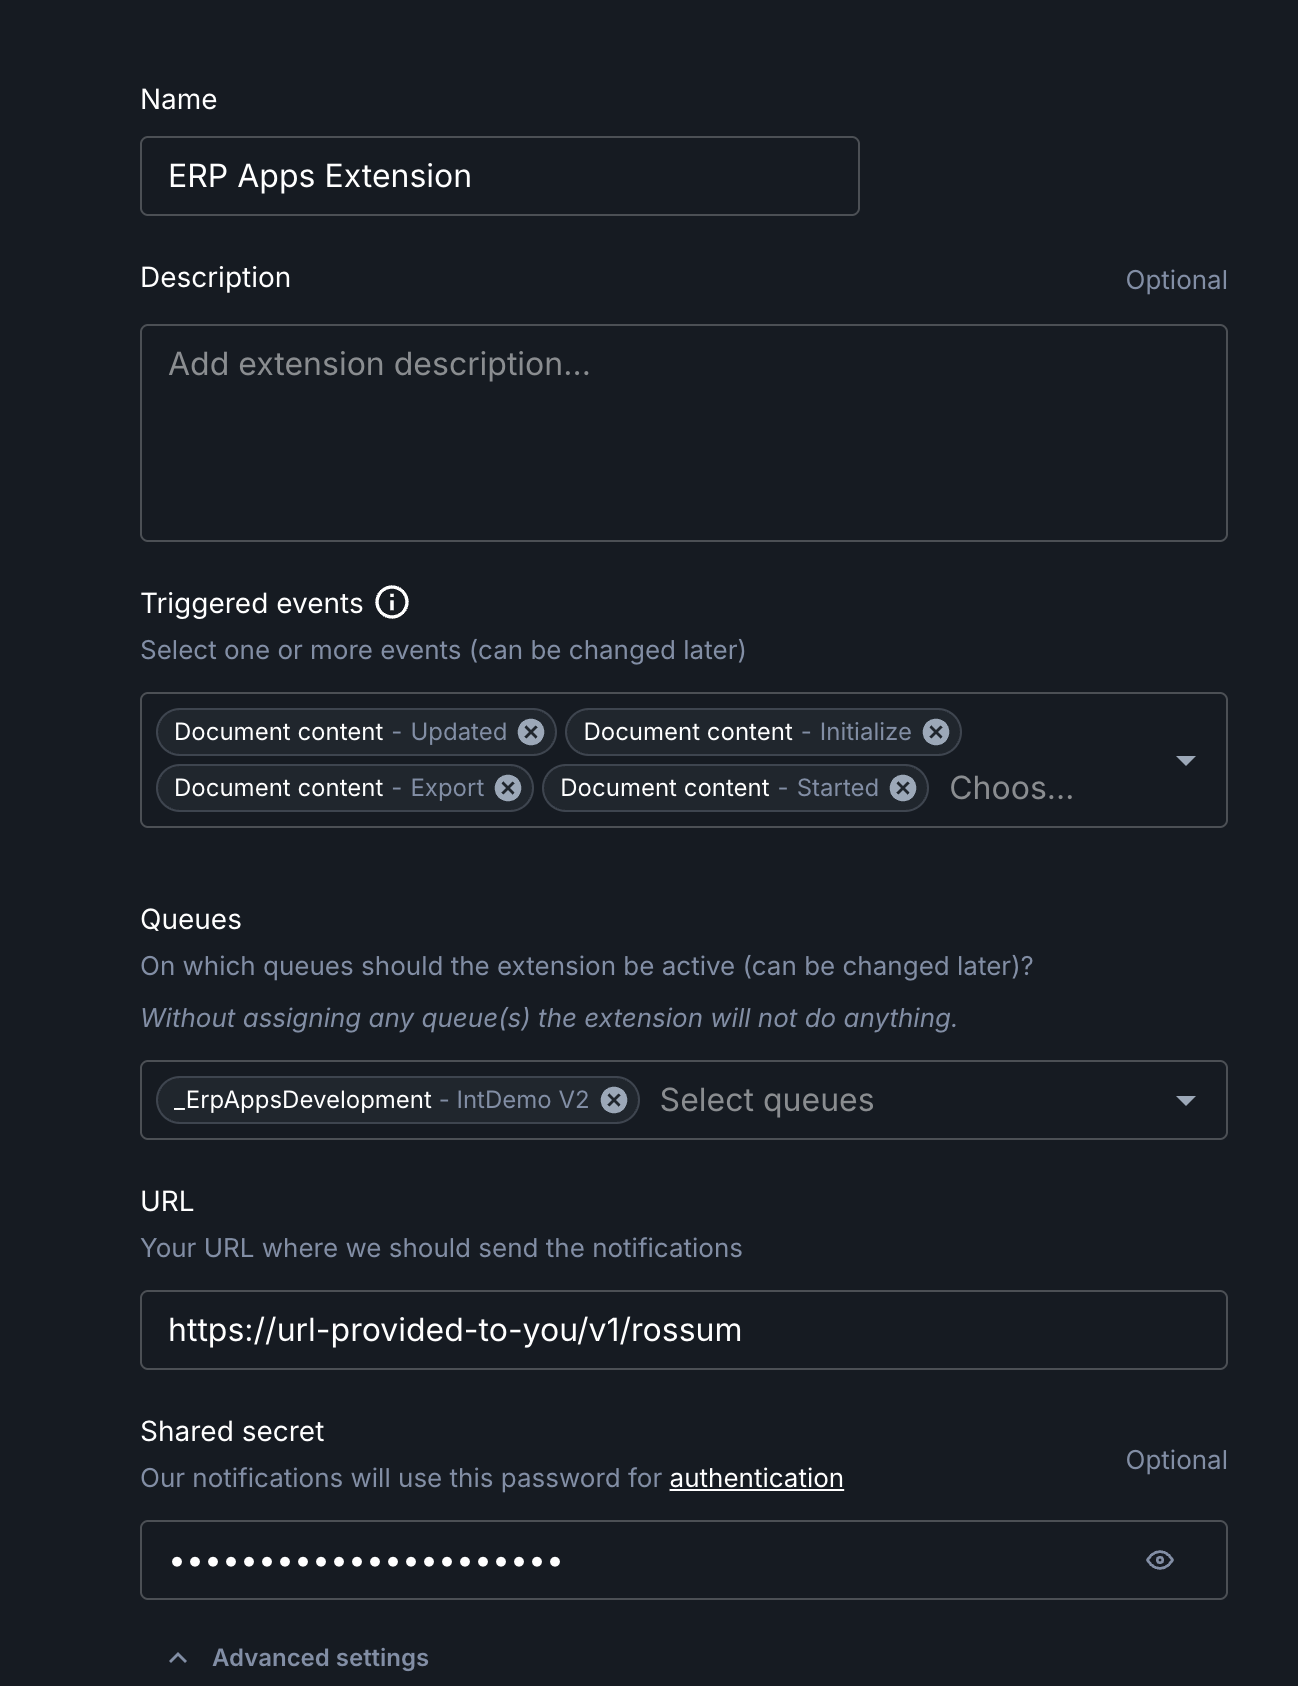
Fill in the form fields as follows:
- Name: Something meaningful to you. This can be anything.
- Description: Something meaningful to you. This can be anything.
- Triggered events: Ensure you select
Document Content - Updated,Document Content - Initialize,Document Content - StartedandDocument Content - Exportand no other events. - Queues: Select the queue to which this should be applied. (Note can be applied to multiple queues under the same license, all queues must be licensed to work)
- Extension Type: Choose "Webhook"
- URL: Enter the URL provided to you after you purchased the system.
- Shared Secret: This should be the API Key provided to you after you purchased the system (may be referred to as a license key).
- Logging ability: "Log payload of the extension" should usually be set to off to ensure no unexpected PII is recorded in Rossum's data stores. However during initial setup with example data or when troubleshooting, you may find it useful to temporarily turn this option on.
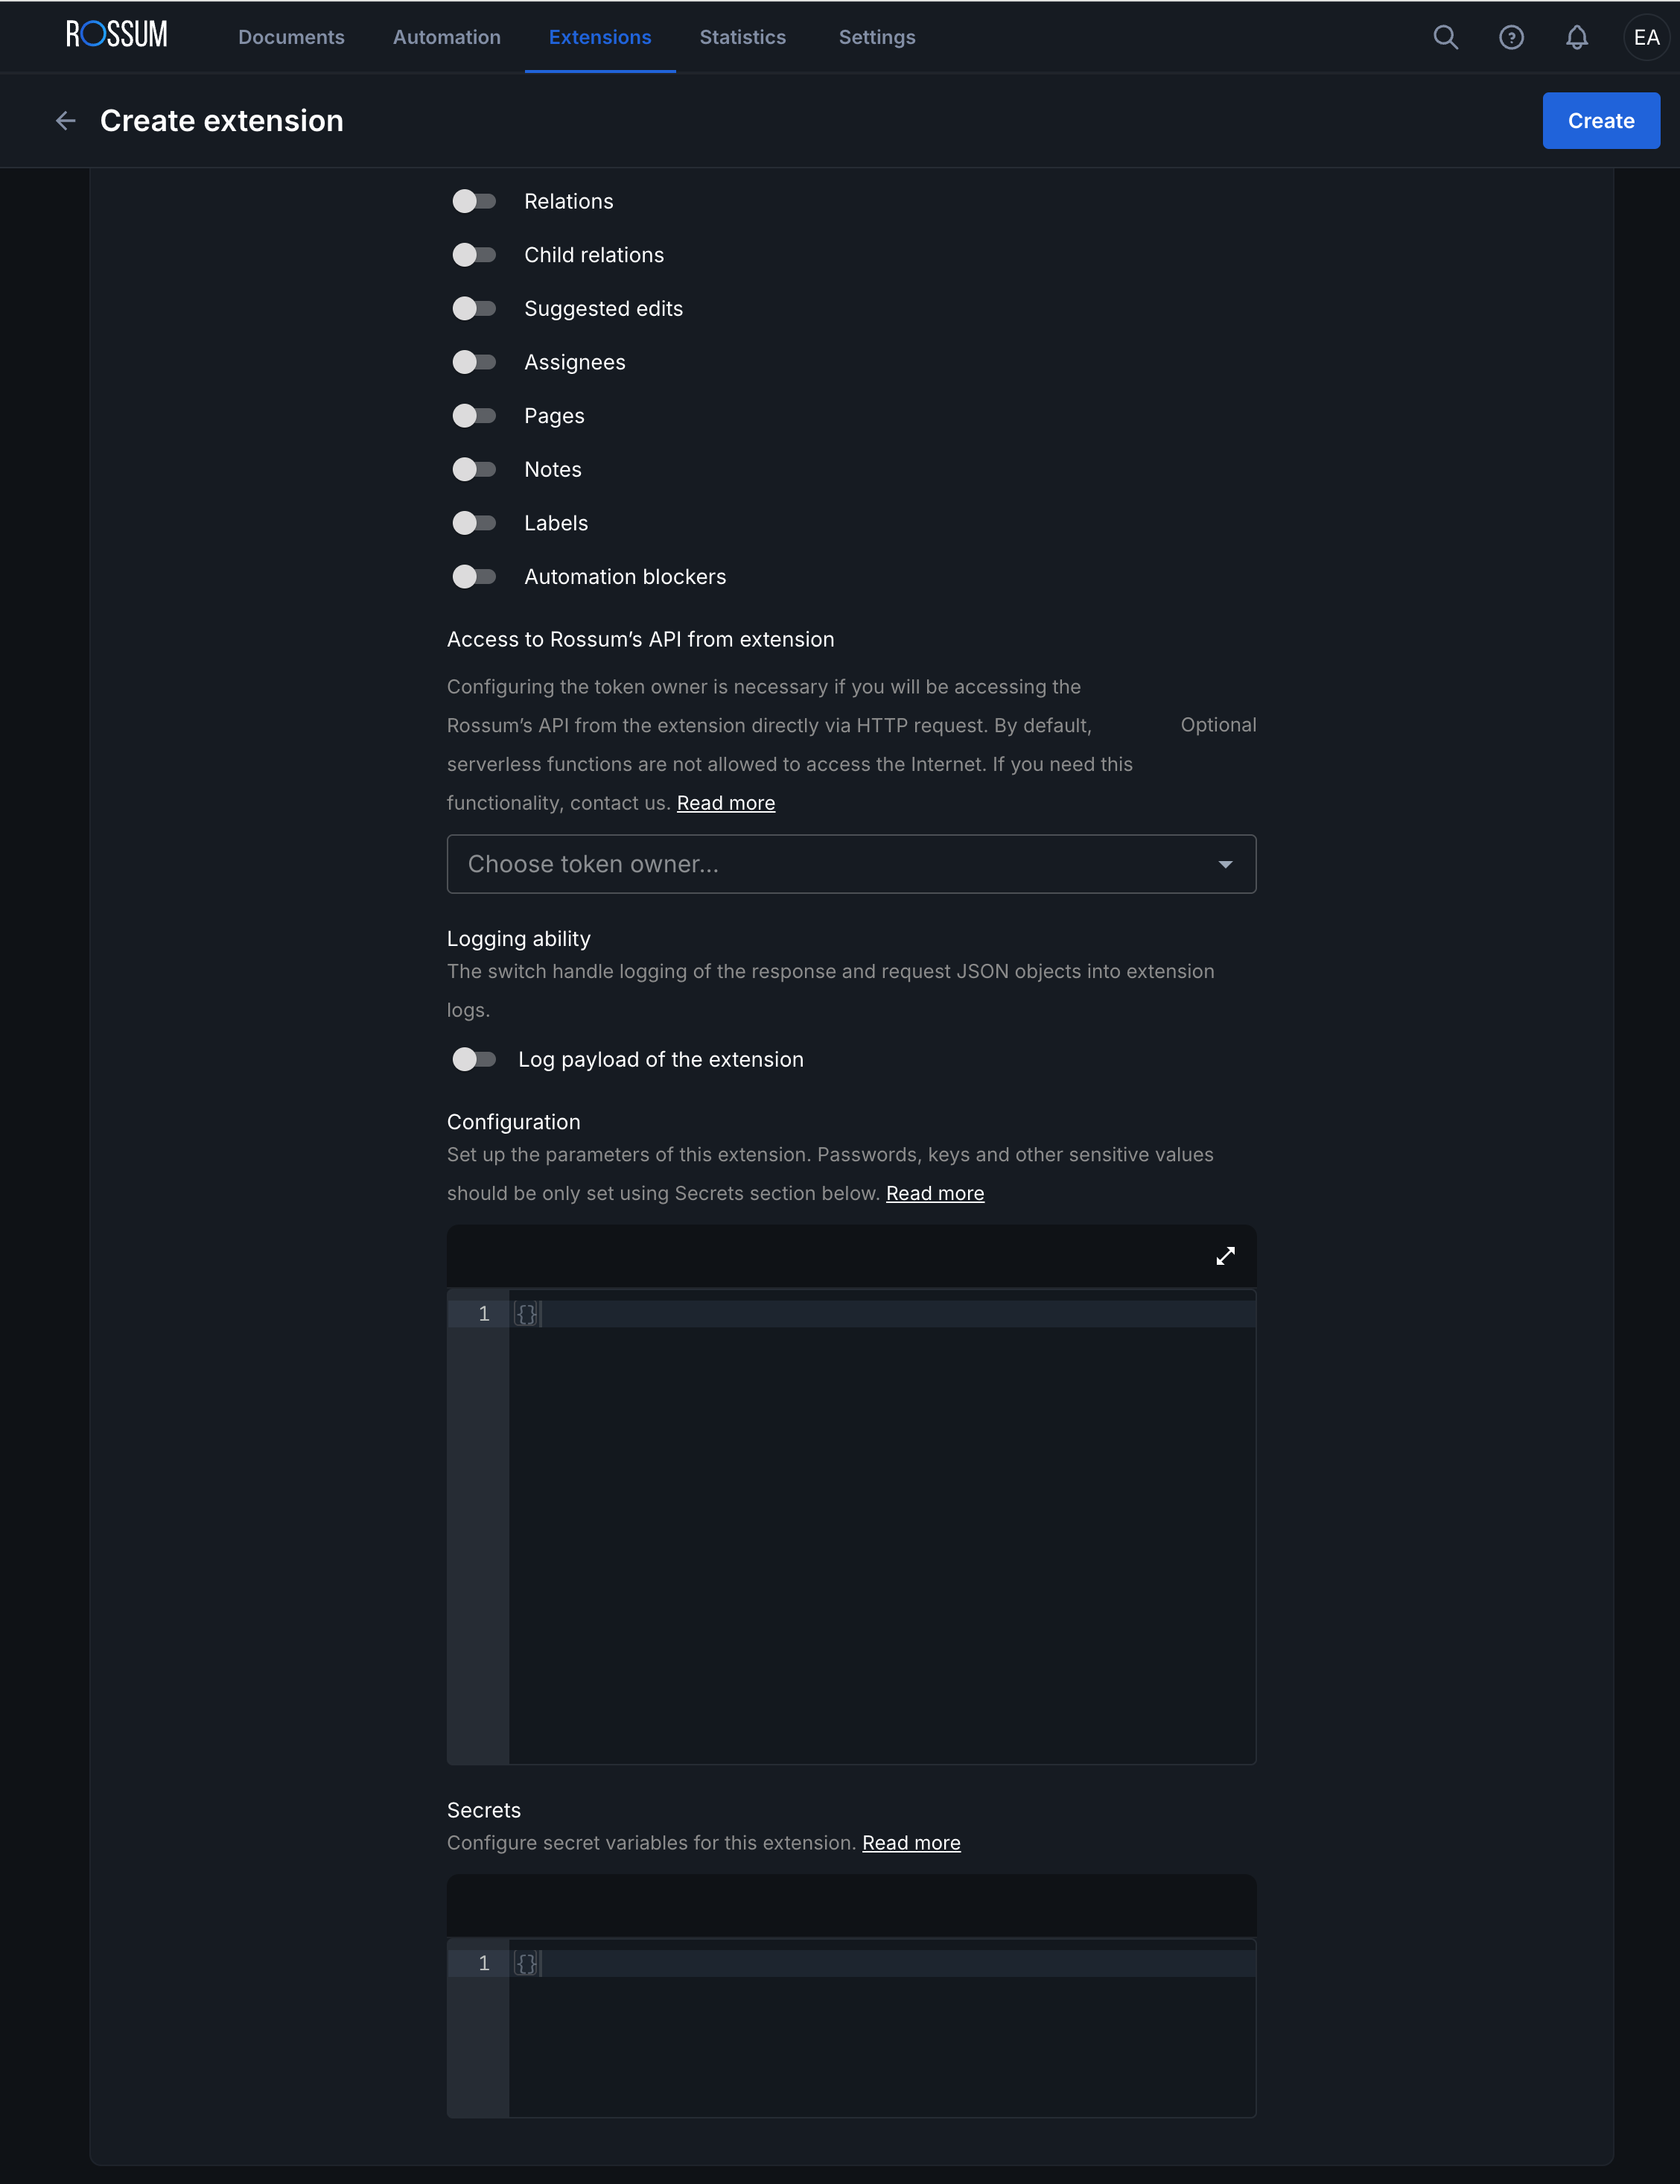
Now we need to configure some advanced settings in order to tailor the solution to your particular needs and to allow access to your Unit4 ERP solution. To continue with this, click "Show Advanced".
We will now add some configuration options to tailor the functionality of the product. The example details given below are a recommended minimal set of configuration values in order to get things up and running for an ERP installation, but many more configuration options are available. For more information, please see our configuration page.
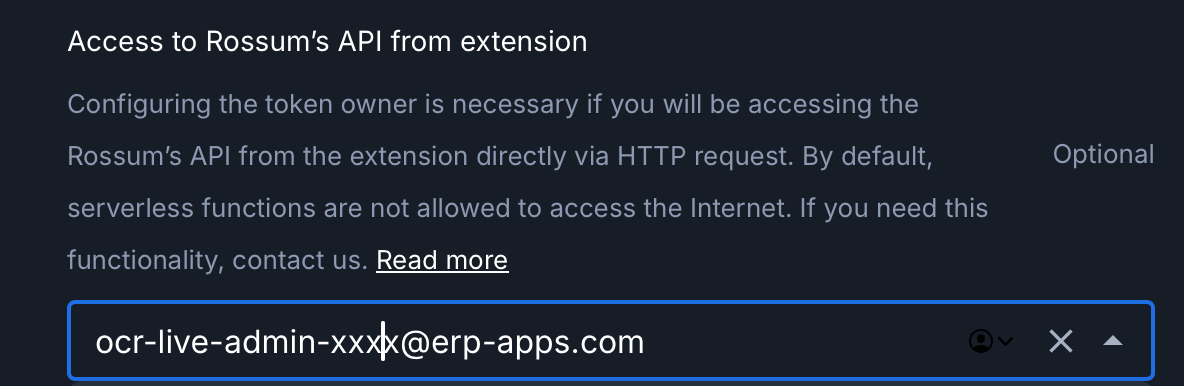
In the Access to Rossum's API from extension dropdown, choose a user with adequate permissions to mark a document as exported.
Configuration box
In the configuration text box, copy the following and then edit to match your setup.
clientId should be your Unit4 ERP client ID. (Note this is now optional, please see the getting started documentation for some notes on multi client setups)
invoiceDocumentTypes should be a JSON array containing at least one configured document from the previous Unit4 ERP configuration step.
The ERP version, this is important so we know what endpoints to use to retrieve data from and send data to.
- erpx Unit4's ERPx system
- erpcr Unit4's ERP CR system, you are likely on this system if you are using Unit4 cloud.
- erp7 This is most likely the version you are on if your servers are not hosted by Unit4.
{
    "clientId": "PUK",
    "erpVersion": "erp7",
    "invoiceDocumentTypes": ["IIN-SCANINV","IIN-PO","IIN-NOPO"],
}
It is likely that you will want to tailor the setup further, please see our configuration page.
Secrets box
In the secrets text box you should now paste your connection details. Options are available for ERPCR and ERP7 solutions, either in cloud or on premise, please see the information on our secrets page for more details. The examples of the setup are at the bottom of this page.
When you save the secrets the box will show as blank again, however the data will be saved. To overwrite a secret, simply input the corrected data and save it.
Finalise Setup
Once all details are entered and correct, hit "Create". (You may be able to save your progress before this point)
You're now ready to go!
To test the setup, please see our User Guide